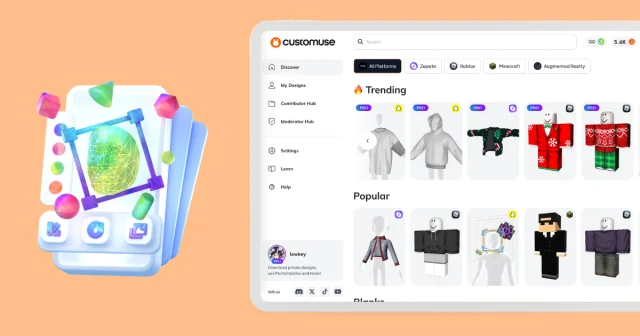
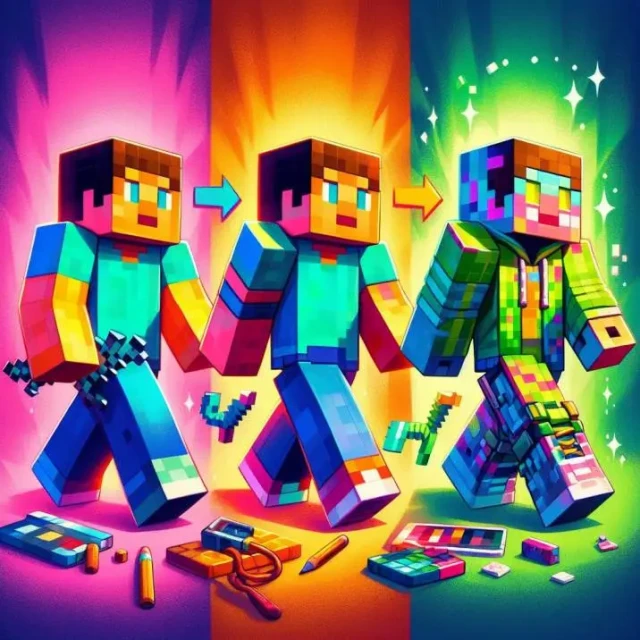
Want to design your own Minecraft skins? With Customuse, you can create unique skins with ease. This guide will walk you through the essential tools and steps to get started.
Step 1: Sign Up on the Customuse Website
First, head over to the Customuse website and sign up for an account. Once you're in, navigate to the Minecraft category and choose a design that you’d like to remix.
Step 2: Adjust Model Settings
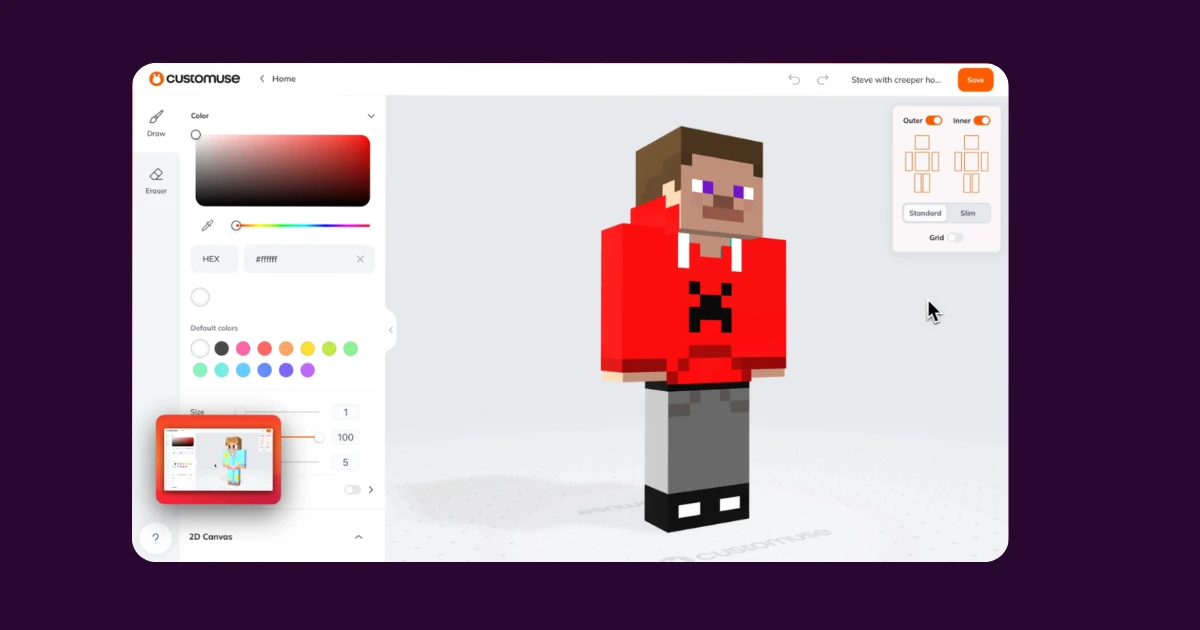
You can customize the model settings by going to the top right of your screen. In this tiny window, you can:
Toggle Outer and Inner Parts: Switch on and off the outer and inner parts of the model to focus on specific areas.
Select Avatar Width: Choose between a Standard or Slim width for your Minecraft avatar.
Enable Grid View: Turn on the grid view to see all the pixels on the avatar, making detailed edits easier.
Step 3: Customize the Minecraft Skin
After selecting a skin, it’s time to customize it to your liking. You can use the Draw Tool to paint directly on the 3D model. Rotate and orbit around the 3D view to see your skin from all angles.
Step 4: Brush Tool Features
The draw tool in Customuse comes with several useful features:
Color Picker: Adjust the color of the brush using the color picker.
Brush Settings: Use sliders to adjust the brush's size, opacity, and softness, giving you full control over your design.
Brush Shape: Change the brush shape by selecting from a square, circle, or triangle in the dropdown menu.
Step 5: Mirror Brush Strokes
Customuse allows you to mirror your brush strokes to save time and ensure symmetry:
Mirror Axes: You can mirror along the X or Y axis.
Additional Mirror Options: Play around with the Mirror: Opposite Surface and Mirror: Sibling Surface settings to refine your design.
Step 6: Eraser Tool
To erase parts of your design, go to the right-side tab and select the Eraser icon. The eraser tool has the same settings interface as the brush tool, allowing you to control size, opacity, and softness while erasing.
Step 7: Switch Between 3D and 2D Canvas
Customuse offers both 3D and 2D views for skin creation:
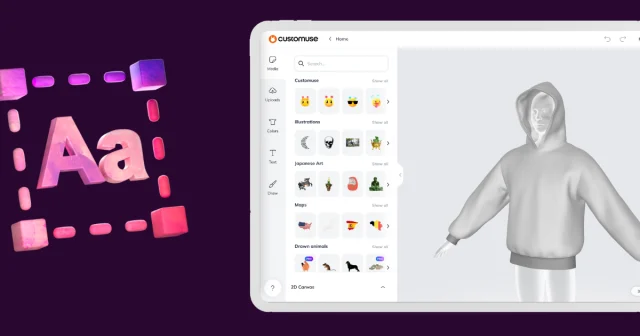
3D View: This allows you to orbit around the model and see your skin in its full form.
2D Canvas View: This shows the 2D texture view of the model, where you can make detailed pixel edits. Switch between the 3D and 2D views.
Conclusion
And there you have it—a complete guide to creating Minecraft skins using Customuse. With these tools and tips, you’ll be able to create unique and personalized skins for your Minecraft avatar. Happy designing!
