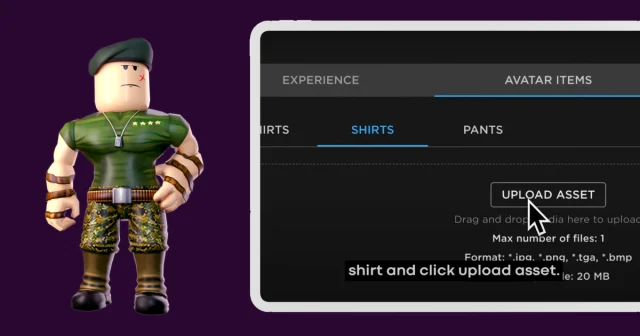
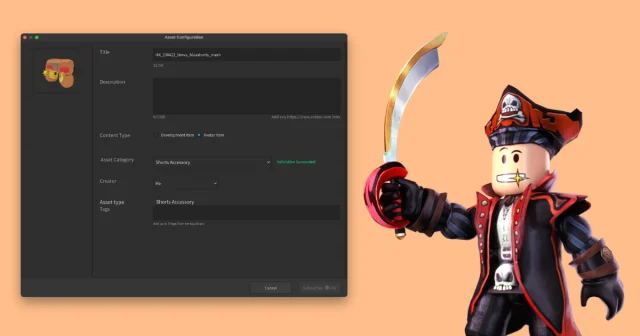
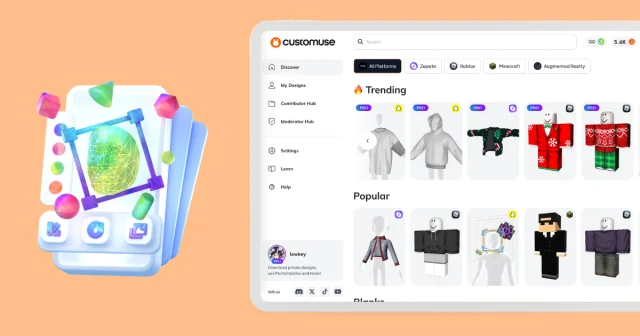
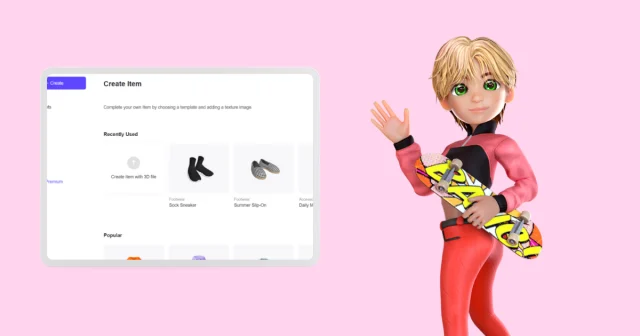
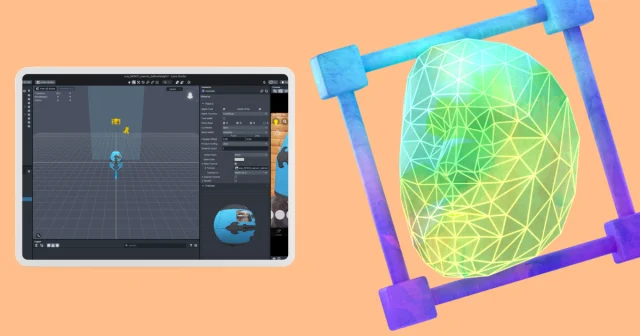
The Customuse editor is versatile. Let’s go through each tool that you might use if you're creating Roblox outfits, Zepeto Clothes, Roblox 3D items, Minecraft skins, and even Tiktok and Snapchat filters. We’ll cover all of the tools in this article.
Navigating The Customuse Editor Interface
Tools For Customization
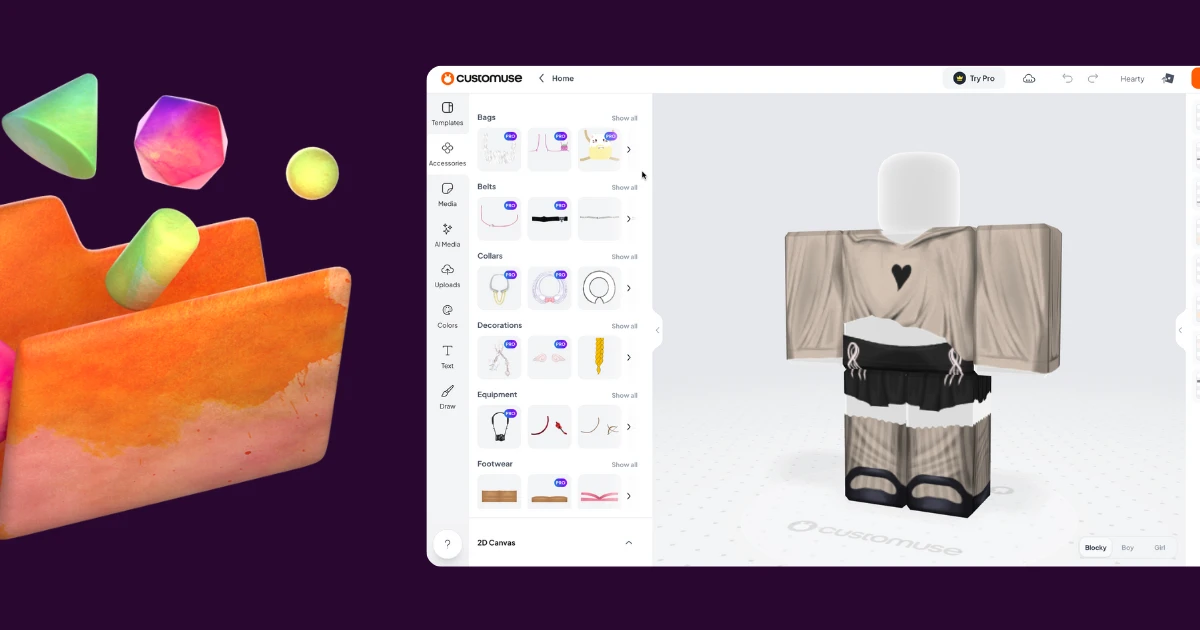
On the left side of the Customuse Editor, you’ll find the tools section. You’d be able to switch between the tools. Depending on which platform you are designing for, you’ll get specific tools for that platform.
2D Texture / 3D View & Adjustments Settings
Right beside the Tools section, located in the bottom left corner, the 2D texture view provides a flat representation of your outfit. You can switch between the 2D & 3D views using the button on the top right side of the 2D view.
Layers Tab
On the right side, you’ll be able to find the layers section. Here you can select specific layers of the design. Here you can select a layer, change the color, and even add textures directly to the layer.
Customuse Editor General Tools
Let’s go through the General tools that you might use on the customuse.
Templates Tab
Use the Templates Tab to quickly navigate between different templates and add designs to favorites so that you can edit them later.
Color Tab
On the color tab, you can easily change the color of each layer without individually selecting each layer of the design. It’s a faster alternative to changing the colors of your design.
Uploads Tab
Using this tab, you’d be able to upload your photos and it would show up on the 2D view. You can move, resize, and rotate the image to your liking. On the panel on the right, you’ll have the option to duplicate the layer. You can bring the layer to the top and bottom. You can automatically remove the background using the Background Remover feature.
Media Tab
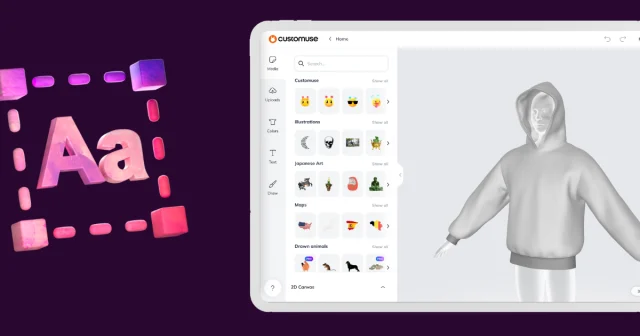
‘Media’ tab. Here, you can find a library of images that you can add to your design. Similar to how you can adjust the images you added on customuse, you can also adjust the image to how you like.
Text Tool
The ‘Text’ tool. Here, choose a font you like and a text layer will be added to the 2D texture view. You can adjust the move, resize, and rotate the text layer. On the right side, you’d be able to customize the text. You can change the text, change the colors, the size of the font, and even add an outline to the text.
Draw Tool
This tool is straightforward; first, select a brush preset. Then you can directly draw on the texture view. On the right side, you’ll be able to adjust the brush settings. You’d be able to change the colors and adjust the size, opacity, softness, and spacing of the brush. You can also switch between the eraser if you need to.
These are the 6 General tools you’d be able to find in the customuse editor.
Specific Tools For Roblox 2D (Accessories & AI-Generated Media)
Accessories Tool
In the Accessories tab, you can customize your outfit by adding accessories to change the overall look of your design. You’d be able to scroll through different categories of accessories you can use. You can select the ‘Show All’ button to preview all the different Accessories you can use. Select the one you like to add to the outfit. On the right-hand side, you’d be able to change the color of each accessory to customize it even further.
AI-Generated Media
The complementary to this tool is the AI media tab. Using this tab, you’d be able to generate specific accessories using a prompt. Similar to adding images to the outfit, you’d also be able to move, rotate, and resize the Image.
Specific tools for Roblox 3D (3D elements & Edit 3D)
3D Elements Tab
The ‘3D elements’ tab. Is a library of 3D elements you can add to your design. Select a 3D element and point on the design where you want to add this element. You can resize the element using the resize gizmo. You can also move or resize the element on its different axes. On the right side of the screen, you can edit the 3D element. You can adjust the shape, colors, stretch, and rotation using the dedicated tab.
Edit 3D Tab
The next tool is the ‘Edit 3D’ tool. Using this tool, you can change the different proportions of the 3D item in the sliders. You can adjust it however you want.
Saving Your Design On Customuse
Let’s go through how you can save your designs on Customuse.
Go to the top right side of the editor; you’ll be able to directly download the files by pressing this download icon. You can also save your design under your Customuse profile by selecting the ‘Share’ button. Select ‘publish’. From here, you can add a name and description of your design. Alternatively, you can also save your design privately.
Creating 3D Roblox Renders Using Customuse
If you're creating either a Roblox Outfit or a Roblox 3D accessory, you’ll have the option to create a dedicated render of your design by selecting the button ‘Share 3D Render.’ you can select if you want to render a Photo or Video, select the aspect ratio, and the character you want to render.
