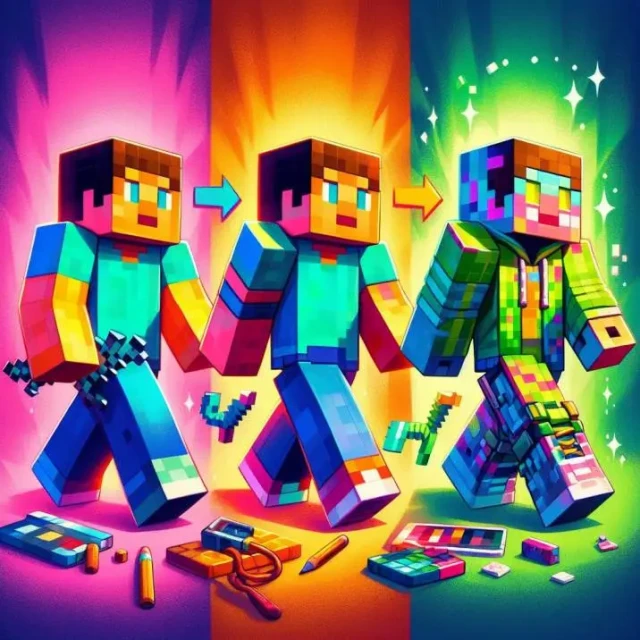
In this guide, we delve into the advanced tools of the Customuse editor to help you add unique details to your 2D & 3D designs. We’ll go through the general tools that you might find in Customuse when creating for any platform.
Text Tool Mastery
Customuse offers a sophisticated text tool that opens up vast possibilities for personalization in your designs. To use it is straightforward. Select the text tab in the Editor and choose a specific font that you’d like to use. Once you have selected one, you’ll be able to view the text layer over on the design in both 2D texture view and the 3D view. You can move and resize the text, and you can adjust the text itself by going to the panel on the right side.
Let's quickly go through what you can change in the text:
Change font. Customuse offers dozens of free and paid fonts and the list growing. From classic 20th-century fonts to playful and futuristic, we have got you covered on all fronts!
Alignment. As in any text editor you can change how the text aligns: left, right, or central
Font styles. You can make all fonts bold and italic (or both!) and many fonts also support underlined style
Colors of the font and colors of the outline. You can change the color and outline of any font!
Layer Tab & Duplicating Layers
Customuse enables you to duplicate text layers with a simple button click, allowing you to create layered text effects. This feature is essential for adding depth and complexity to your designs.
Exploring the Draw Tab
The draw tab in Customuse is a gateway to adding hand-drawn elements to your design, perfect for those looking to add a personal touch. You can use this feature to add shading or specific details to your outfit.
Brush Customization
Start by selecting your brush color, which is set to black by default. On Roblox Classic clothing you can only select from the grey brush presets. On all other platforms you can also create with pattern brush presets!
Classic presets. Change the brush that you use to mimic paintbrush, pencil, heart stamps and dozens of others! Adjust spacing and softness to bring the brush even closer to your style
Pattern brush presets. Use emojis and images to quickly add ambiance and fun to your design!
Once you select a brush preset, you can also adjust the following features:
Size. This is easy, just change the size of the brush.
Color. Even easier!
Opacity. If you want your shading to blend into the background, change the opacity of the brush
Softness. If you want the shading or details to be less contrasting to the rest of the body and the borders to be very soft, set Softness to max!
Spacing. If you want each brush stroke to be far away from each other, increase Spacing!
There are endless possibilities! Give it a try.
Just like text, you can duplicate paint layers, adding up to five brush layers to your design. This layering capability is essential for creating detailed and intricate designs.
Specific Roblox 3D Tools
Here are two essential tools to utilize when creating Roblox 3D designs.
Add 3D Elements Tab You can make your item stand out, by adding 3D elements. Select a 3D element for a library of different 3D elements. Place the element on your model and use the available tools to scale, rotate, and adjust its position using the panel on the right. These tools make it easy to fine-tune your design, ensuring that every detail is perfect.
Edit 3D Tab To take it a step further, you can adjust the proportions of the 3D designs using the sliders located on the 'Edit 3D' tab. These sliders allow you to modify the overall appearance of your 3D model. Feel free to experiment with them as much as you'd like!
Conclusion
The advanced tools of Customuse provide a robust platform for creating highly detailed and personalized 3D designs, especially for Roblox enthusiasts. By mastering these tools, you can elevate your creations to a professional level.
