Want to create a custom AR lens for Snapchat without spending hours in complicated software? Here’s how you can easily design your own lens using Customuse and Lens Studio!
Before you begin
Make sure you have the latest version of Snapchat Lens Studio installed
Step 1: Go to Customuse
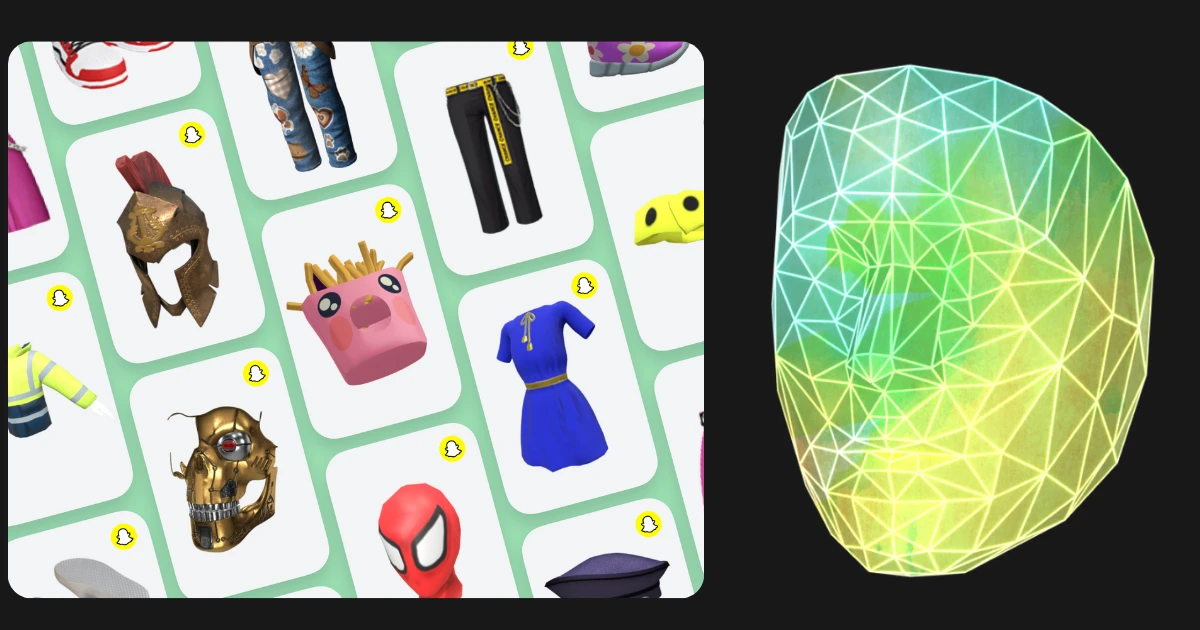
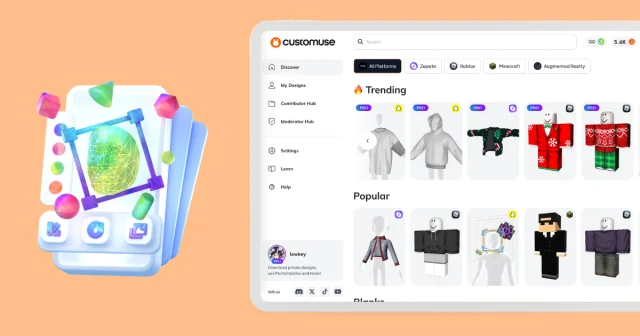
Start by going to Customuse.com and signing up for an account. Once you're logged in, navigate to the Snapchat section. Here, you can browse and select a design template that you’d like to remix and customize.
Step 2: Customize Your Design
After selecting a template, you can begin personalizing your design:
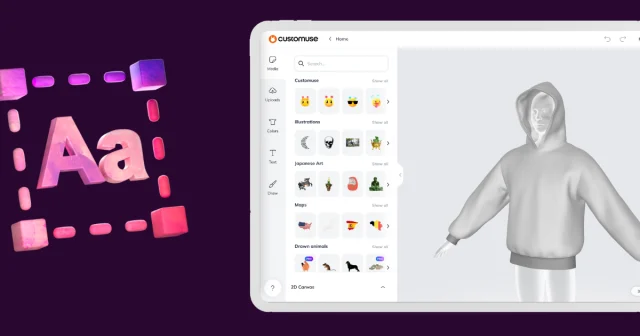
Change Colors: On the right side, you’ll see options to change the colors of different parts of the outfit. Customize it to your liking.
Add Textures: You can also add textures to your design. Adjust the size and transparency to get the perfect look.
Add Images: Scroll down to add images to your design. You can move, rotate, and resize them. To upload your own images, click the upload button and select the image you want to use.
Draw on the Design: Use the Brush tool to draw directly onto the design. Switch to the 2D view to refine your details.
Add Text: If you want to add text, select the text button, choose a font, and type your desired message in the tab on the right. Just like with images, you can rotate, move, and resize the text.
Adjust Proportions: You can tweak the proportions of your design by adjusting the sliders to change sizes.
When you are done, preview your design by switching the view: at the bottom right, you can switch between a 3D view of your design and an Augmented Reality (AR) view to see how it will look in real life. Customuse will ask to access your camera so you can try on your design in real-time!
Step 3: Save and Download Your Design
Once you’re satisfied with your design, save it by naming your creation. You can choose to save it privately or publish it for others to see.
After saving, download the ZIP file to your computer. You’ll need to Unarchive it to a folder and open the file, which will automatically launch Lens Studio.
Step 4: Open Your Design in Lens Studio
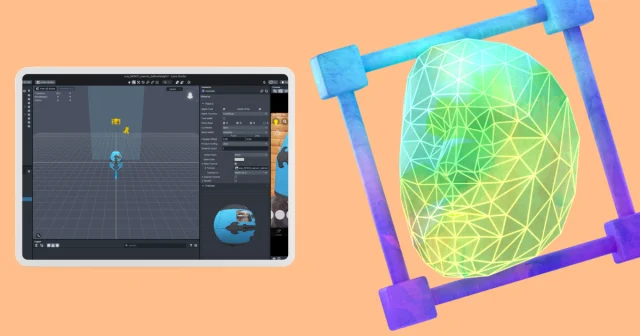
Once the file is open in Lens Studio, you’ll be able to preview your outfit directly on your computer. This is where you can see how your design will appear as a Snapchat lens.
Step 5: Publish Your AR Lens
To make your AR lens available for everyone, you need to link your Snapchat account to Lens Studio. Click on ‘Publish Lens’ in the top left corner of the screen and follow the on-screen instructions to complete the process.
And there you have it! You’ve successfully created and published a custom AR lens for Snapchat using Customuse and Lens Studio. Enjoy sharing your unique designs with the world!
