How to Upload Minecraft skins from Customuse

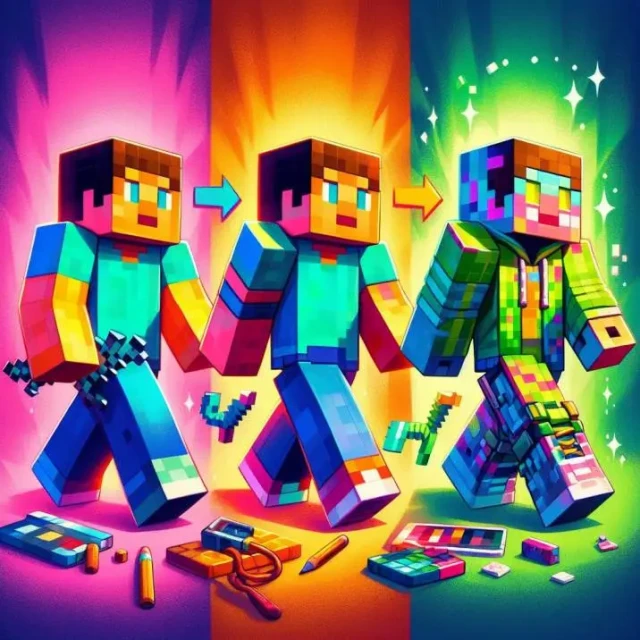
Let's create a custom Minecraft outfit using Customuse.
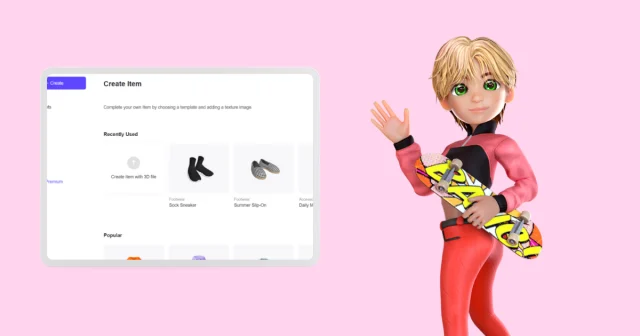
Select the Minecraft template you like and click Remix. This opens the template in the Customuse Editor. Customize the template as you like.
💡 Note: when you design for Minecraft, you edit 2 files at once: 1 Slim skin and 1 Standard skin (you can download them separately)
Save the outfit by clicking on 'Save & Export' and click “Download” in the opened window. Later you can find this outfit in the 'My Designs' tab.
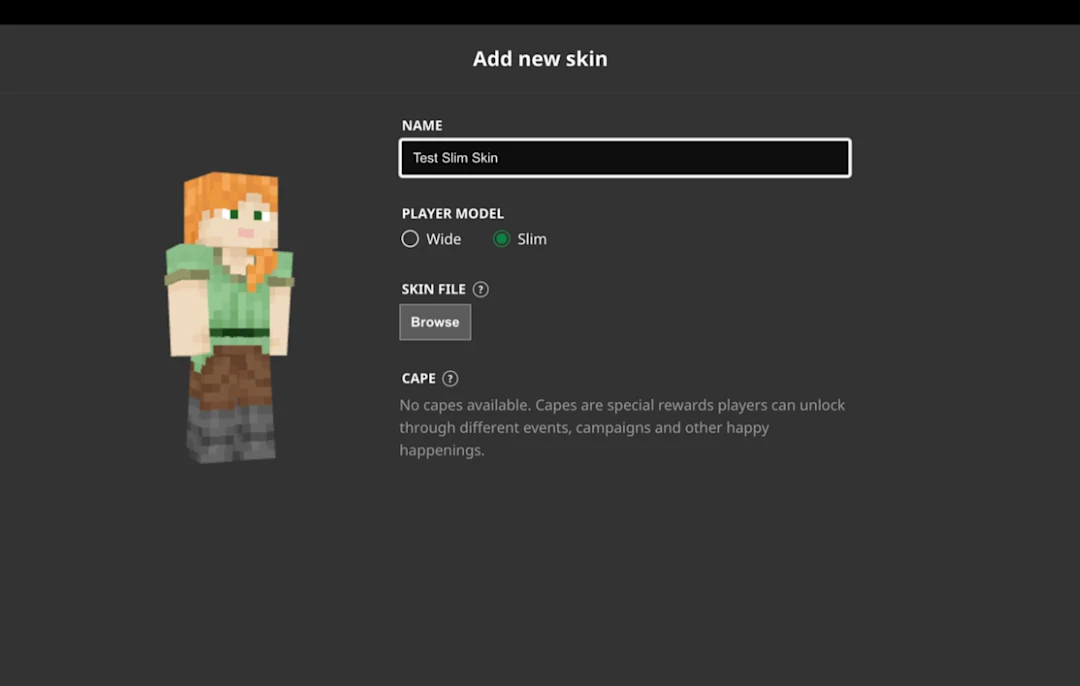
Uploading to Minecraft
Open Minecraft and go to the “Skins” tab
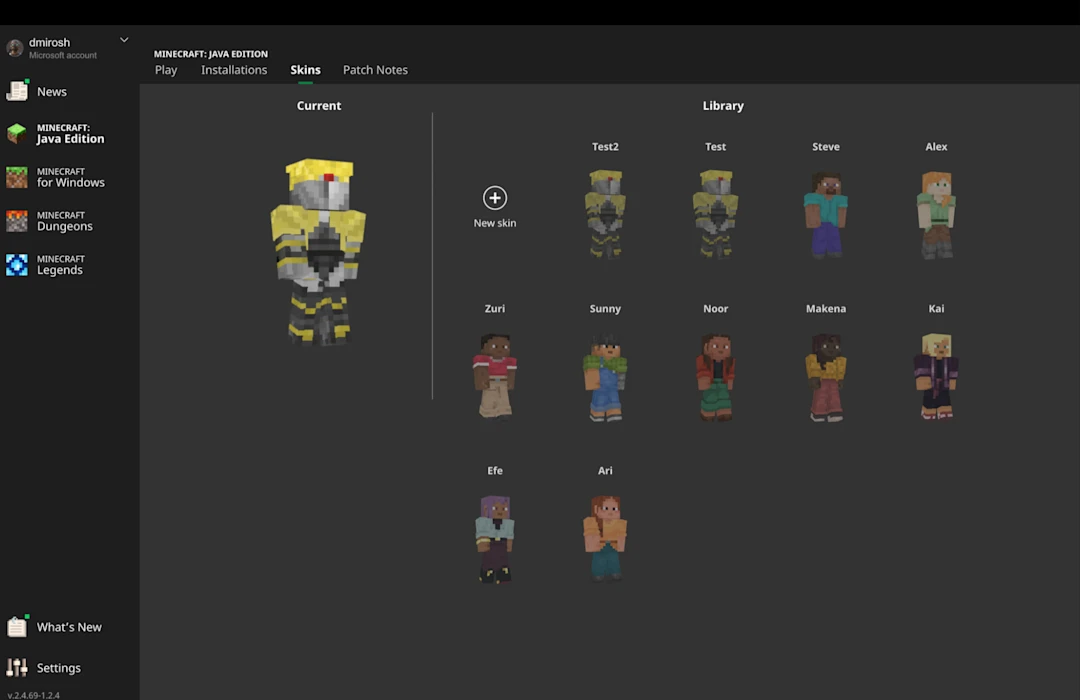
Press “New skin”, enter the name and select the type of skin you want to upload. Then attach it, press “Save & Use” and upload!
The skin will be applied to your character. If you would like to change the skin, hover on that design and press “Use”
💡 See more in the Minecraft article