How to upload a Hat or Mask to Roblox: a Step-by-Step Guide
Discover how to create Hats and Masks in Customuse for Roblox ("Rigid Accessories" in Roblox lingvo) and how to upload and use them for your Roblox avatar. In this guide you will go through the whole process from creating a Hat to wearing it on your Roblox Avatar.
Please note that Roblox divides 3D clothing into Layered Clothing and Rigid Accessories. Layered Clothing changes shape with the shape of your avatar – these are shirts and pants. Rigid Accessories (masks, hats) never change shape. This guide is for Rigid Accessories. If you are looking to create a 3D shirt, please follow this guide.
You will need:
A desktop device with Roblox Studio installed
A Roblox account with age verified and at least 1 750 Robux. If you need Robux to get started, join our Discord server. You can participate in challenges there and if you win, we give away Robux as a prize!
Step 1: Saving your hat in Customuse
Once you're satisfied with your hat or mask in Customuse, the first step is to save it.
After clicking 'Save', give your design a unique name and description. Description is optional but it's better to add it as it makes your design more discoverable on Customuse and on Google search. Click 'Publish' to proceed. After publishing you will see the Download button.
Pro users don't have to publish their designs to download them. Free users can only download published designs. You can find your private designs in the "Private" tab of your profile. The published designs are placed in the "Published" tab.
Step 2: Importing into Roblox Studio
When you download your design from Customuse, you receive a .FBX 3D model file. To import your asset into Roblox Studio please do the following:
Open Roblox Studio (download it) and sign in with your Roblox account.
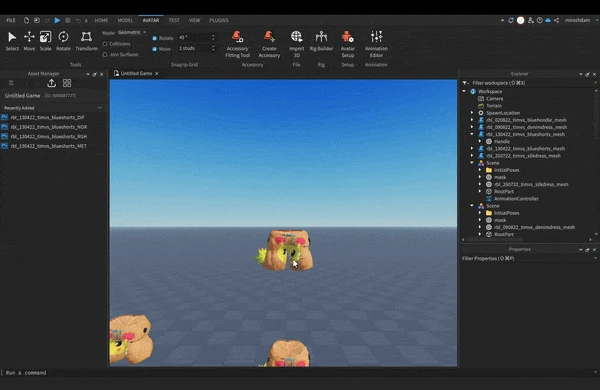
Navigate to the Avatar tab and select Import 3D.
In the file browser, select the .FBX file from the folder downloaded from Customuse. The 3D Importer loads a preview of the object.
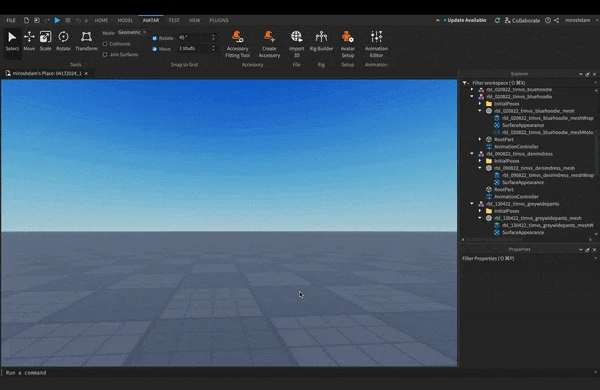
See Roblox Studio tutorial for more details.
Step 3: Converting into Accessory and Positioning it on the Avatar
We are almost done! The last step in the process of clothing creation requires you to use the Accessory Fitting Tool to convert this object to a standard Accessory that avatar characters can equip. Unlike the Layered Clothing (e.g. Shirts and Pants), Accessory must be also correctly positioned relative to the avatar!
If you don't like text tutorials, follow this video!
To generate the accessory object:
In the Avatar tab, select the Accessory Fitting Tool. The Accessory Fitting Tool panel displays on the left side of the workspace.
Select the Model of the clothing item in the viewport. The tool's text field populates with the name of the object selected. Alternatively, you can select the object within the Explorer window.
On the Asset Type page, select the type of asset and the expected body type.
Select Accessories, then select the applicable category such as Hat, Eyewear, etc.
Body type is very important for Accessories and affects how accessories are applied. At the time of writing, Customuse-made Accessories are prepared for Classic Blocky body type. Learn more in the Roblox article.
Test out various sample characters, clothing, and animations. See Testing Accessories for additional information.
If the design does not behave as you expect, reach out to our team! We will help you.
Move the accessory within the cage either by dragging on the handles (remember to hold SHIFT to make it smooth!) or by changing the Position value in the bottom right corner of the window. See this video on how to do it
When ready to generate your accessory, click Generate Legacy (!) MeshPart Accessory. This generates a copy of your Accessory which can be published to Roblox.
Step 4: Previewing on your Roblox avatar
In the previous step we tested the hat on the default Roblox avatars. However, it is important to test that it sits well on your Roblox avatar before you pay Robux to upload it! Luckily, this is really easy to do. Watch this video or follow the text steps below:
Go back to the Avatar tab in Roblox Studio and select Rig Builder.(it's next to Import 3D button you pressed earlier)
In the opened window select "My avatar".
You will see your avatar imported in Roblox. If you have weak connection, this may take a short while
In the Explorer menu on the right find your newly-created Accessory and drag into the "Rig". You can locate both of them by clicking on your Avatar and your Accessory respectively
Step 5: Publishing to Roblox
Finally, your item is ready. Find it in the Explorer, right-click on it and select "Save to Roblox"
You will need to verify your age on Roblox
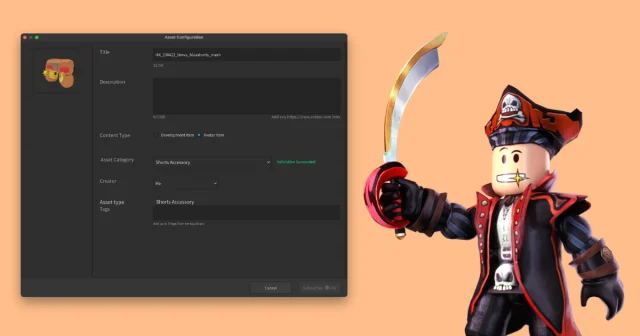
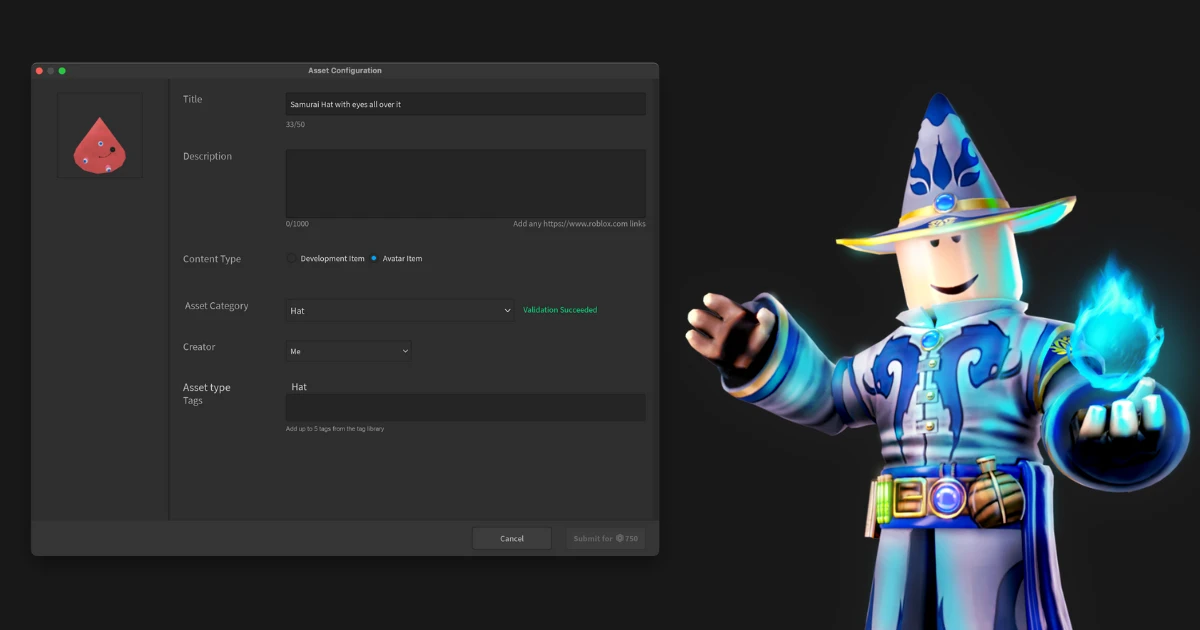
Then enter the details and press Upload! You will have to pay 750 Robux per each Accessory uploaded
Wait for your item to pass Roblox moderation and then you can put it on sale on the Roblox website. Note that you will have to pay a Publishing Advance to publish!


