Creating personalized Minecraft skins is quick and easy with the Customuse AI feature. Follow these simple steps to design and download your custom skins:
Step 1: Go to the Customuse Website
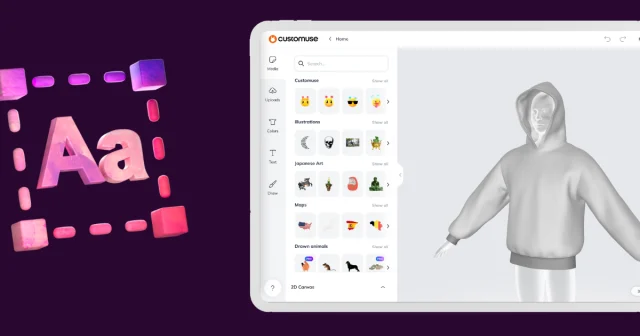
Begin by navigating to the Customuse website on your browser. If you don’t have an account yet, sign up and log in.
Step 2: Access the AI Feature
Once logged in, go to the top right corner of the screen and click on the magic wand icon—this is where you can access the AI skin generator.
Step 3: Choose Minecraft Skin Generation
You'll be given the option to generate either a Minecraft skin or a Roblox design. Select "Minecraft" to continue.
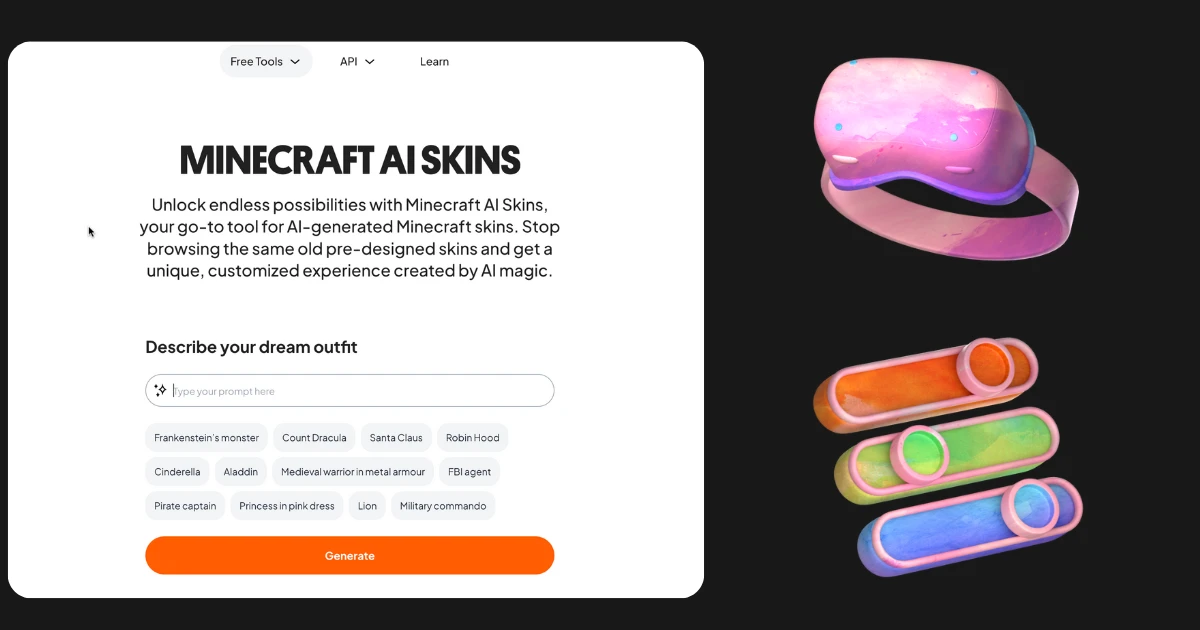
Step 4: Enter Your Prompt
Next, type in a prompt that describes the type of Minecraft skin you want to create. Once you've entered your prompt, click the "Generate" button.
Step 5: Review and Select Your Skin
The AI will generate several versions of Minecraft skins based on your prompt. Browse through the options, and select the one that you like best.
Step 6: Download and Upload to Minecraft
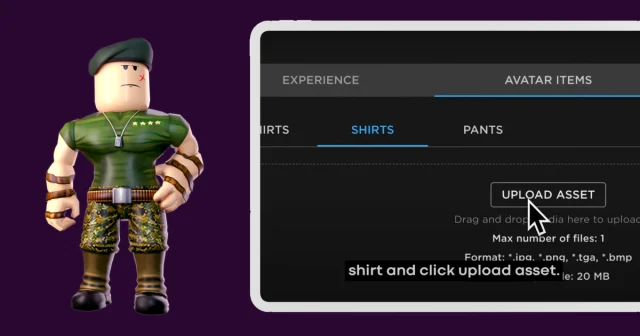
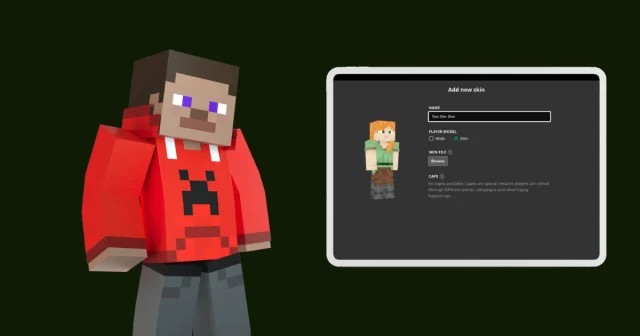
After choosing your favorite skin, download it to your device. The final step is to upload the skin to Minecraft, where you can start using your new custom design.
Custo Coins
Next to the "generate AI" button, you will see a coin icon. This coin represents the amount of AI credits you have left. Each design that you generate costs 10 Custo coins. You can purchase more Custo coins if you need to.
With Customuse AI, creating unique Minecraft skins is as simple as that.
