Designing custom accessories for your Roblox designs is now easier than ever with the Customuse’s AI feature. Follow this guide to create and add unique accessories to your outfits in just a few steps.
Step 1: Open the AI Media Tab
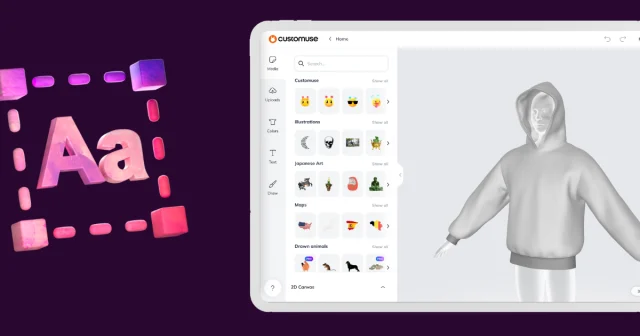
Start by opening the Customize editor within Customuse. Navigate to the AI Media tab, where you’ll find options to create accessories. You can either choose from ready-made prompts or enter your own creative ideas.
Step 2: Generate Your Accessory
Once you’ve entered your prompt, click the Generate button. The AI will create a custom accessory based on your input. If you’re not satisfied with the first result, simply hit the Retry button to generate a new one. Your generations are saved automatically, so you can come back to them later.
Step 3: Add the Accessory to Your Design
You can tap on any accessory that you like and that will add it to the design. To add an accessory you previously generated, go back to the AI media tab in the Customize editor. Here, you can view the AI-generated accessories. Click on the accessory you created earlier.
Step 4: Customize the Accessory
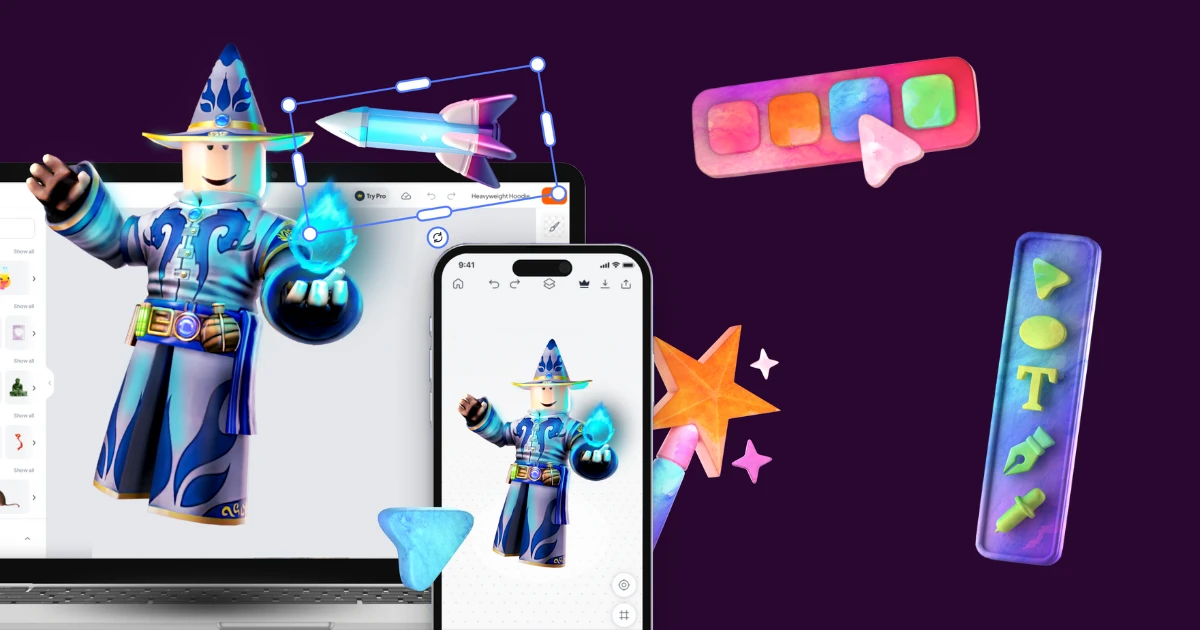
If you’re working in the 2D view, you can click on the accessory to drag, resize, and position it exactly how you want. This allows you to perfectly tailor the accessory to fit your outfit.
And that’s it! With these simple steps, you can easily create and add AI-generated accessories to your Roblox outfits, making your designs stand out in the Roblox community.
