How to Make a Roblox Shirt Without Any Complicated Software!
Creating your own Roblox shirt doesn’t have to be complicated. Using Customuse, you can easily design and upload your creations without needing advanced design software—this simple guide to help you make your very own Roblox shirt.
Step 1: Sign Up on Customuse
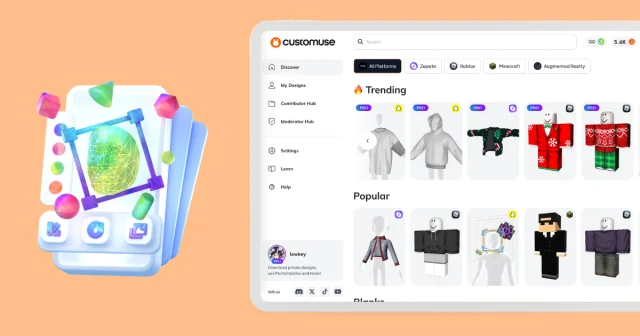
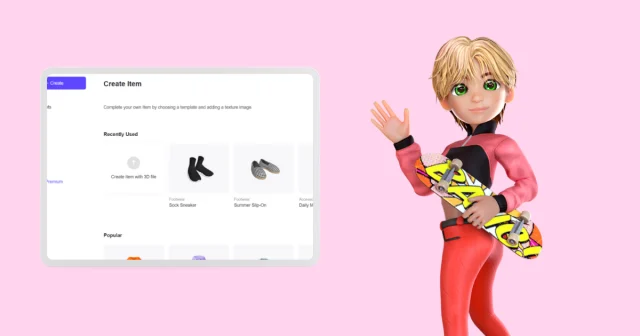
First, head over to the Customuse website or app and sign up for an account. Once you’re logged in, navigate to the Roblox category, where you can browse through various outfits. If you’re looking for something specific, you can use the search tab to narrow down your options.
Step 2: Customize Your Design
After selecting a design you like, it’s time to customize it. You can modify each layer’s colors to match your preferences. You can use the color tab to change the colors of the design.
Step 3: Add Textures and Accessories
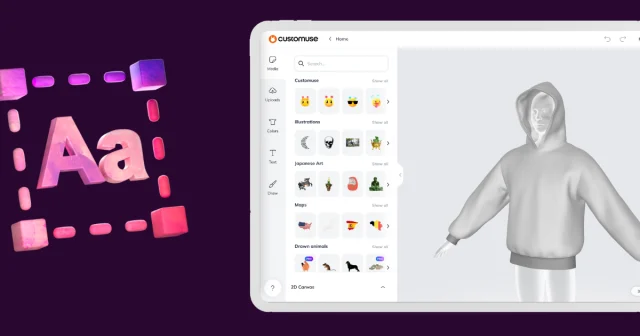
You can Take your design to the next level by adding textures to different layers of the outfit. You can also choose from a wide variety of 2D accessories. Whether it’s a belt, scarf, or other details, you can customize the color of each accessory to fit your vision. If you have your own images to use, simply upload them via the Upload tab or use Customuse's AI feature to generate custom images.
Step 4: Add Text and Draw Directly on the Design
You can add personalized text to your shirt using the Text tab. Pick your favorite font, adjust the size, and make it yours! If you want to add a more personal touch, switch to the 2D view and draw directly on the shirt. Choose from various brush presets to create your unique design.
Step 5: Upload to Roblox
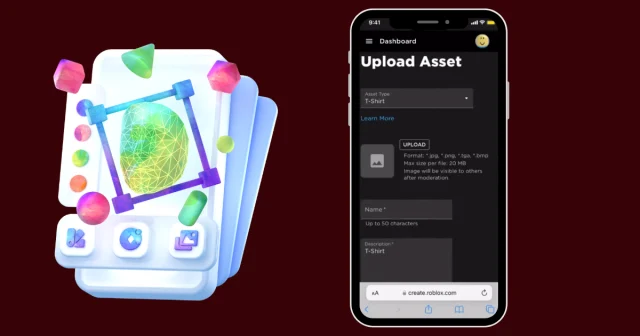
Once you’re satisfied with your design, it’s time to upload it to Roblox. Customuse offers a direct upload feature, but you’ll need to connect your Roblox account first. Follow the on-screen instructions to link your account.
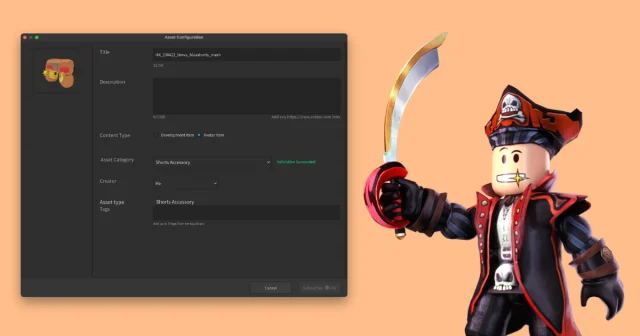
After that, give your shirt a name and description, and upload it to Roblox for just 10 Robux!
Step 6: Put Your Shirt on Sale
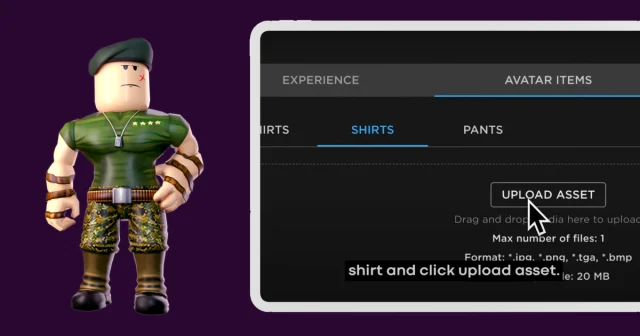
To put your newly created shirt on sale, visit the Roblox website and go to the Create page. Find the "Creations" section, then select "Avatar Items" and "Classic Shirts." Use the dropdown menu to locate the shirt you just uploaded. From here, you can set the price and make it available for others to purchase.
Conclusion
And that’s it! You’ve successfully created your own Roblox shirt without the need for complicated software. Now your custom designs can be worn by others in the Roblox community.


