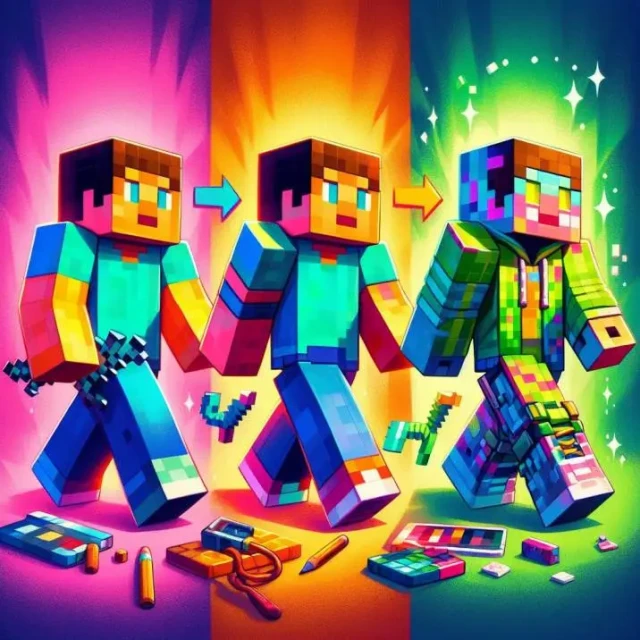
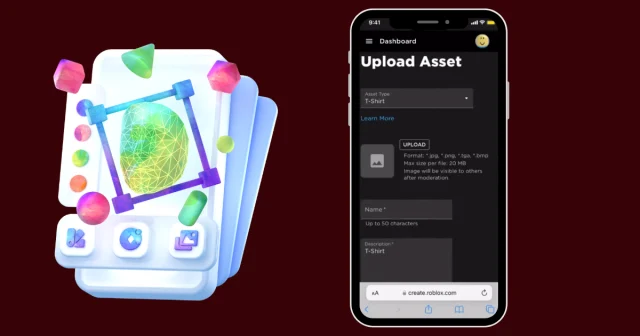
Creating and uploading your own custom Roblox shirt on your phone is easier than ever, thanks to the Customuse app. In this guide, I’ll show you the step-by-step process to design your shirt and upload it to Roblox in no time!
Step 1: Download the Customuse App
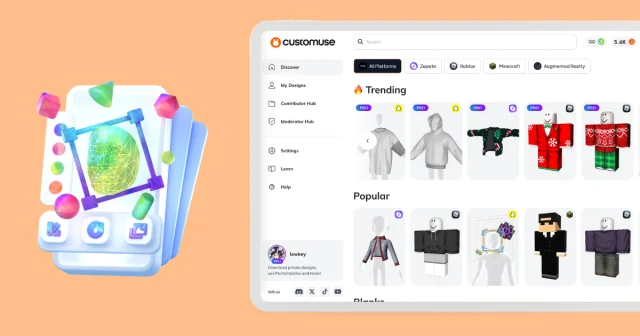
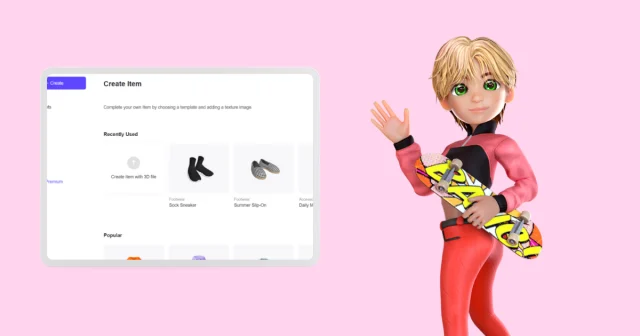
Start by downloading the Customuse app from the app store. After installation, sign up for an account to get started. Once logged in, navigate to the Roblox category, where you can browse various design templates to remix and customize.
Step 2: Remix a Design
When you find a design you like, tap on it to begin remixing! One of the easiest ways to make a design unique is by changing its colors. Feel free to experiment and play around with different color combinations until you find the perfect look for your theme.
Step 3: Add Accessories and Images
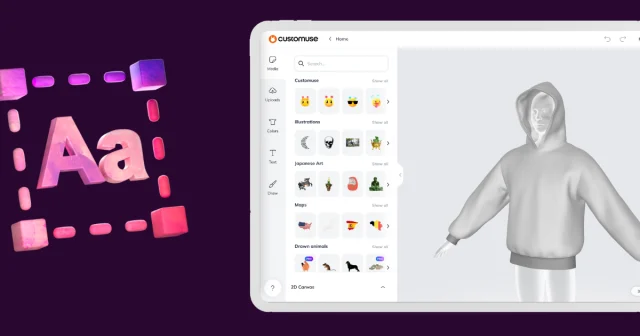
To take your design to the next level, you can add accessories. Explore the categories in the Customuse app and choose items that complement your design. If you have your own images, you can upload them by going to the Upload tab.
You can also explore the Media tab to find additional images or generate custom graphics using the app’s AI image generator. Just type in a prompt, and let the AI create something new for you!
Step 4: Add Text and Draw on Your Outfit
Another way to personalize your Roblox shirt is by adding text. Select a font you like, type your message, and adjust the color, outline, and placement. You can easily move the text around on the 2D texture view to get it just right.
Additionally, you can even draw directly on the shirt using various brush presets, giving your design a personal touch.
Step 5: Upload Your Design to Roblox
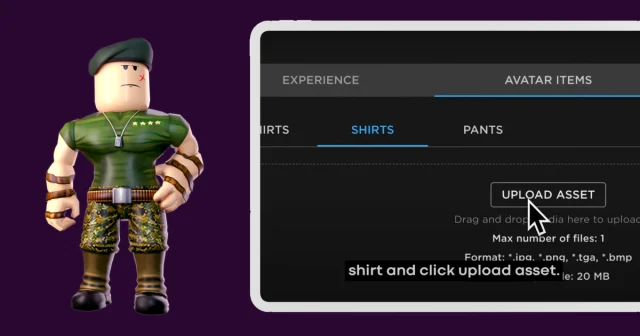
Once your design is complete, it’s time to upload it. Tap the “Upload to Roblox” button in the top right corner of the screen. You’ll be prompted to link your Roblox account with your Customuse account. Follow the simple steps to log in and sync your accounts.
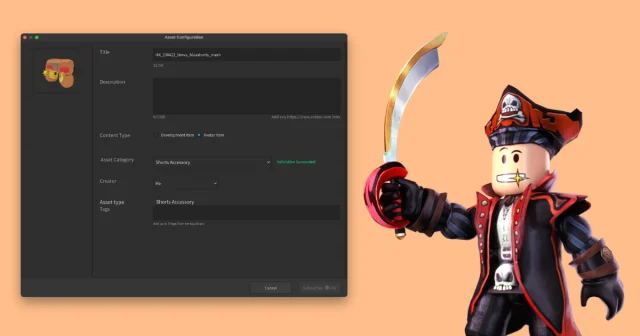
Once linked, return to Customuse and upload your design. Be sure to add a name and description for your shirt. Uploading your outfit to Roblox costs 10 Robux, so make sure you have enough in your account.
Step 6: Put Your Shirt on Sale
Want to sell your custom shirt? Here’s how:
1. Open your web browser and go to the Roblox website.
2. Navigate to the Create tab, then click on Creations.
3. Under Avatar Items, select Classics, and then choose Shirts.
4. Find the shirt you just uploaded, select it, and toggle the option to put it on sale.
5. Set a price for your shirt! I recommend keeping it between 5 to 8 Robux to attract more buyers.
And that’s it! You’ve successfully created and uploaded your custom Roblox shirt—all from your phone. Now, you can share your design with the world or even earn some Robux by selling it.


