How to create ZEPETO design without using complicated 3D software
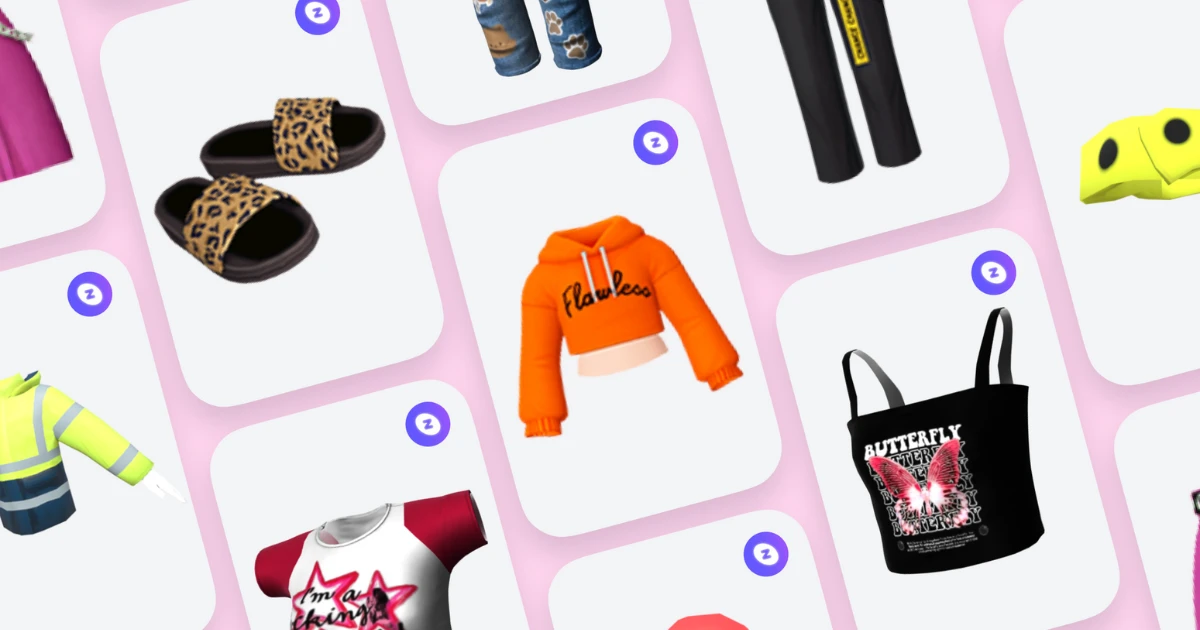
Designing a custom Zepeto 3D outfit is simple and fun, even if you're not familiar with 3D software. By using Customuse, you can create unique outfits that stand out in the Zepeto world. Here's how to get started:
Step 1: Visit Customuse.com
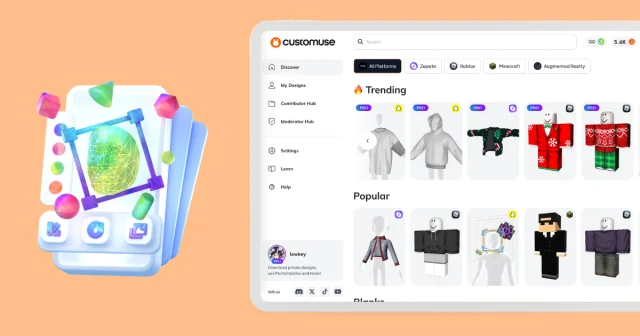
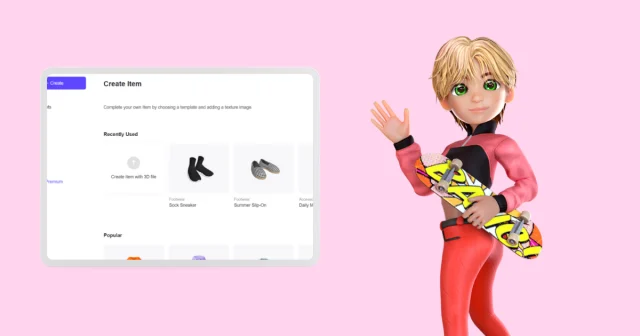
Start by heading to Customuse.com. Once you're on the site, you'll find various templates that you can customize. You'll have to create an account first. To create your Zepeto outfit, select the Zepeto category. This will display different types of item categories you can explore.
Step 2: Select and Remix Your Item
Choose the type of item you want to reuse and remix. For this example, we’ll select a simple top. Click on the item and then hit the Remix button to start customizing.
Step 3: Customize the Colors & Materials
Now, it’s time to design your top. Go to the Colors tab to change the colors and materials of each part of the outfit. You can also select specific parts of the outfit from the left side of your screen to customize them individually.
Step 4: Add Your Own Images
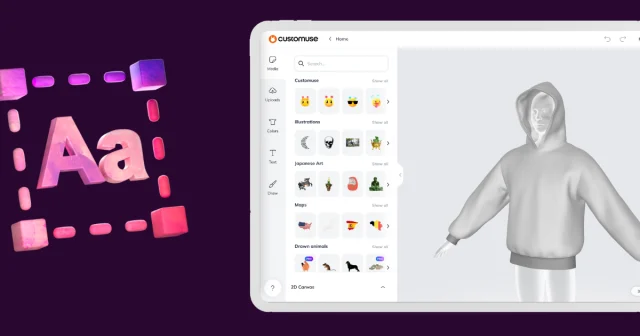
To make the outfit truly yours, upload images from your device. You can switch to the 2D view to position your images precisely. In this view, you can move, resize, and rotate the image. The 3D view lets you preview how the top looks with the image applied.
Step 5: Add Text
Next, add some text to your design. Choose a font from the available options, type in your desired text on the left side, and customize the style. You can change the colors, style, and add an outline. Like the images, you can move, resize, and rotate the text to fit your design.
Step 6: Draw Details on the Outfit
For a personal touch, you can draw details directly on the outfit. Customize the brush settings to suit your needs and experiment as much as you like.
Step 7: Save and Upload Your Outfit
Once you’re satisfied with your design, it’s time to save and upload it to Zepeto. First, hit the Save button. You can name your design and add some text if you like. Then, select Save & Publish to save the outfit to your computer.
Step 8: Upload to Zepeto Studio
To upload your design, search for Zepeto Studio and go to the Zepeto Studio website. Log in to your account, then hit the Create button. Since we’re uploading a shirt, select Top under the item type.
Drag and drop the Customuse file you downloaded into the upload section. Fill out all the necessary information about your outfit and review all the details before submitting.
Step 9: Preview Your Outfit
Now, you can preview your top on your avatar by clicking Preview outfit on the avatar. When you receive a notification on your phone, try on the outfit you created in the Zepeto app!
And that's it! You’ve successfully created and uploaded your custom Zepeto 3D outfit without needing to learn any complicated 3D software. Enjoy showcasing your creativity in the Zepeto world!


